Skip links
Grade identification

Metallurgical tests

It is not just the chemical composition which determines the quality of carbides. Mechanical and metallurgical properties such as grain size, hardness, density and phase composition also have a considerable influence on the quality of the carbide. In order to determine these essential quality features quickly and with certainty, we have our own in-house laboratory for carrying out professional metallurgical analyses.

As well as providing quality assurance for our products, these checks – whether they be individual analyses or regular tests – ensure reliability for the user, tool manufacturer and the end user. Independent evaluation by our experts guarantees maximum application reliability, cost savings, and transparency when purchasing carbide.

Carbide grade determination

Carbide grades are often defined by just the grain size and the cobalt content. But this simply isn’t enough. Ultimately, a whole range of physical characteristics affect the quality and grade identification of a carbide. This is why our specialists determine properties such as magnetic saturation, specific weight and examine the microscopic structure. These results are essential for identifying the best carbide for your specific requirements.

Analyses in detail

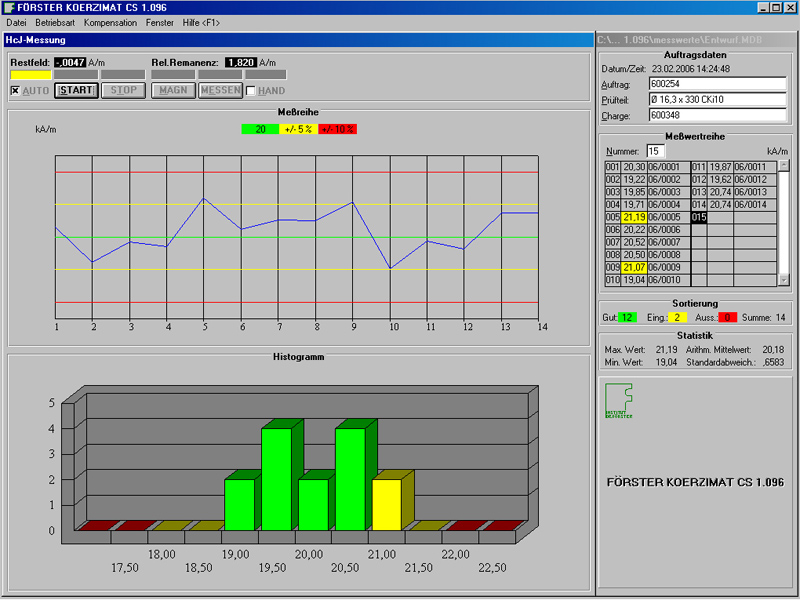
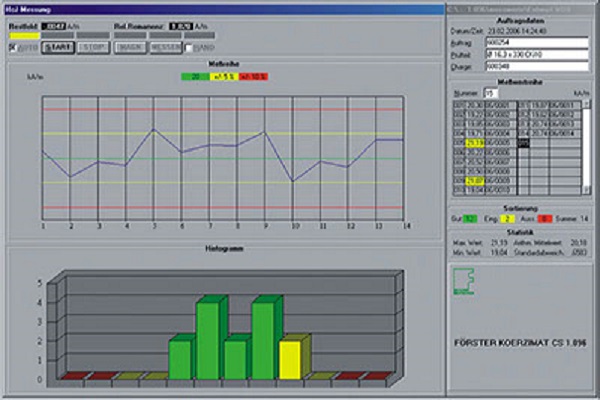
The coercivity (Hc) signifies the magnetic field strength that is required to fully demagnetize a ferromagnetic substance. Magnetic properties give insight into the material structure.

Static evaluation during incoming goods inspection

Destruction-free testing of carbides

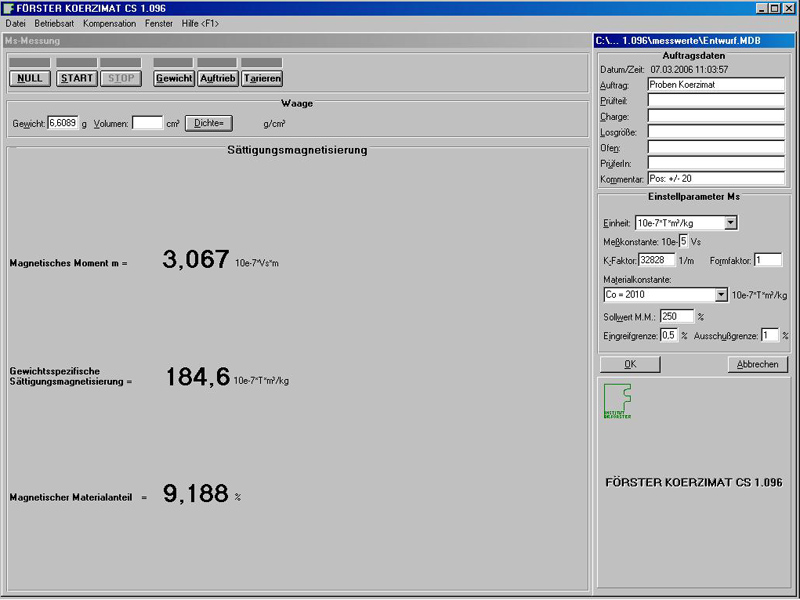
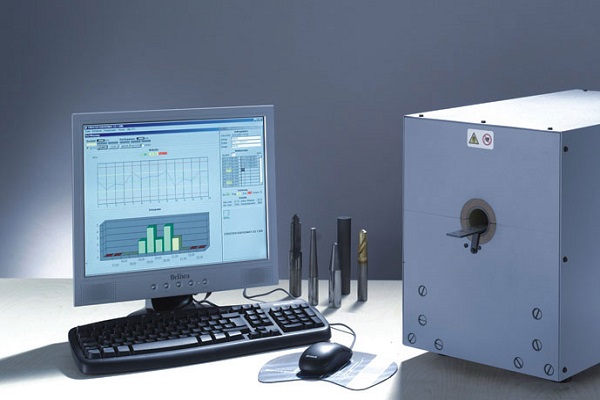
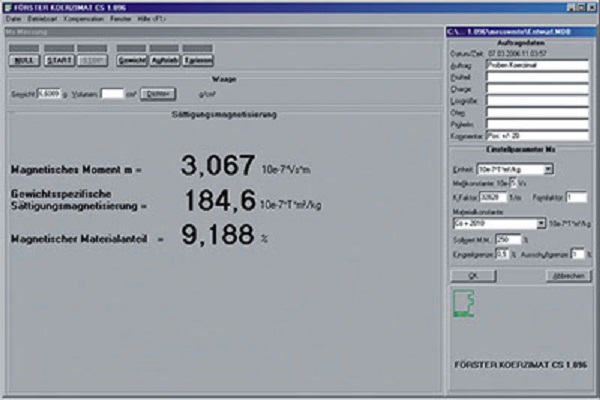
By measuring weight-specific magnetic saturation, we are able to quickly determine the sintered state and carbon balance, and in turn, quickly make a judgement about the quality of the carbide in question.

All established values can be directly forwarded to the customer on request

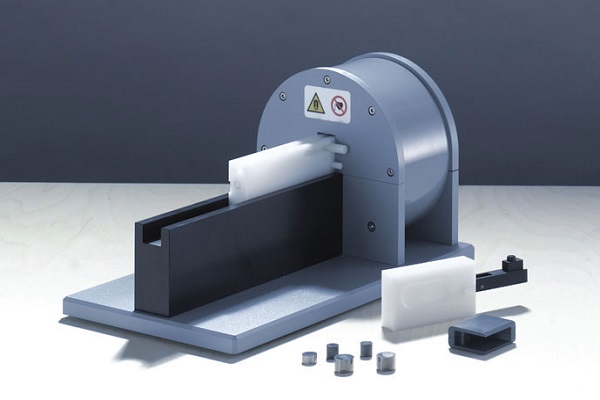
Magnetic saturation measurement using a Helmholtz coil

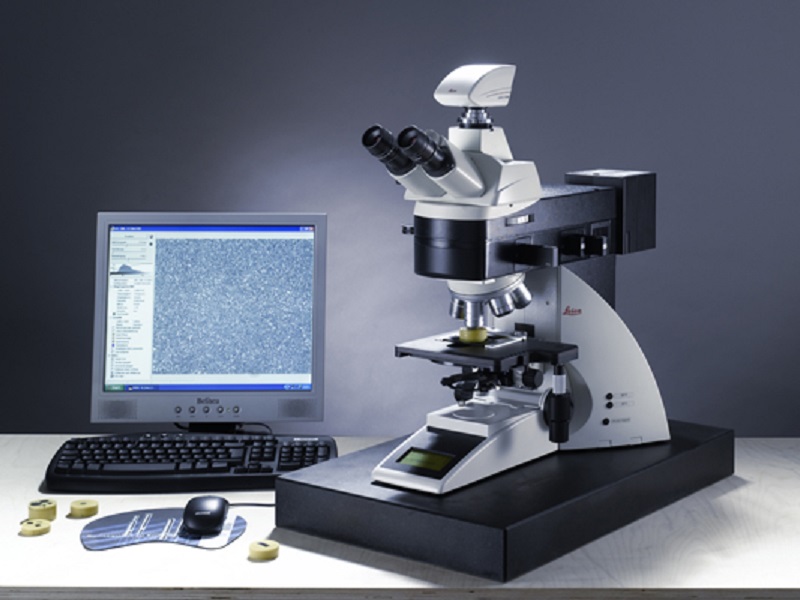
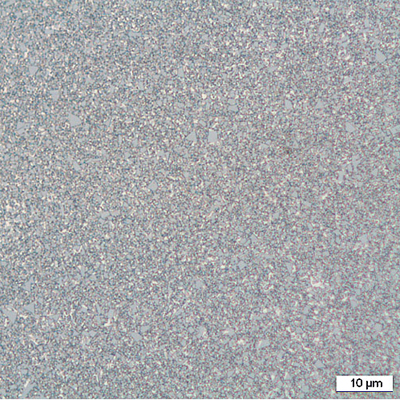
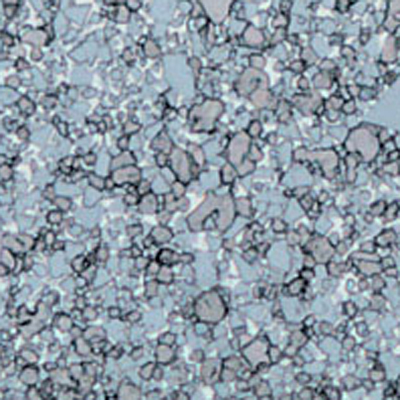
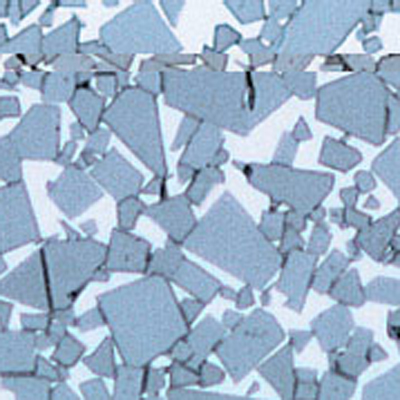
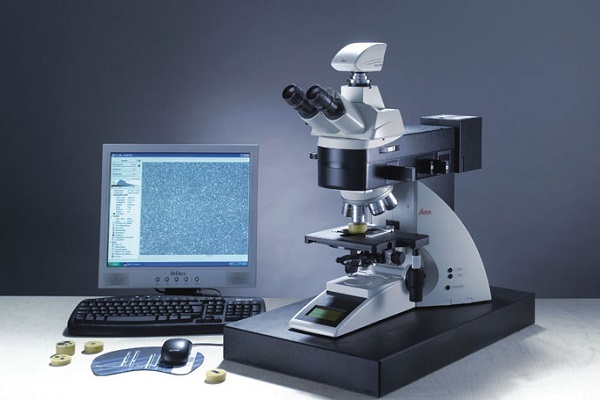
The Leica microscope does everything you need: the up to 2000x magnification enables aspects such as structure, porosity, eta-phase, binder metal distribution and grain size to be thoroughly determined. Output on imaging media is possible for analysis and documentation.

Image of a TC coarse grain in a fine grain carbide

Leica laboratory microscope: top quality optics and high precision lenses

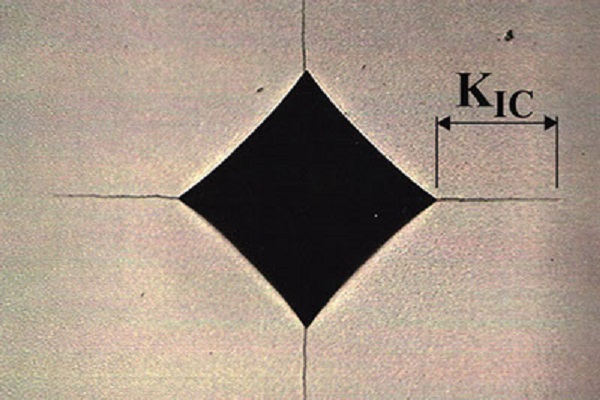
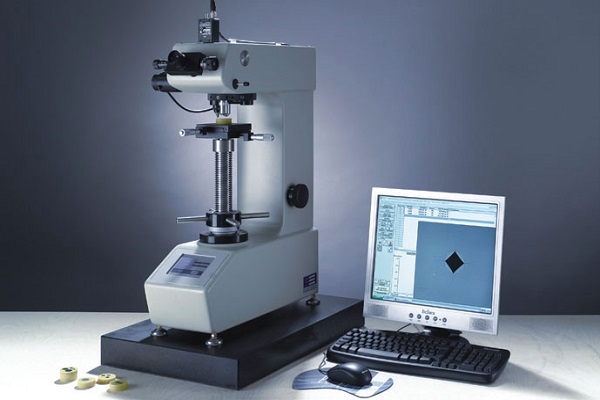
Hardness testing according to Vickers involves pressing a diamond pyramid into the workpiece using a stipulated test force. The Vickers hardness (HV) and the KIC value can be derived using a measuring microscope. Both values play a vital role in the evaluation of hardness, wear resistance and fracture toughness.

Hardness indentation with fracture formation to determine the KIC value

Hardness test with 30 kN test load

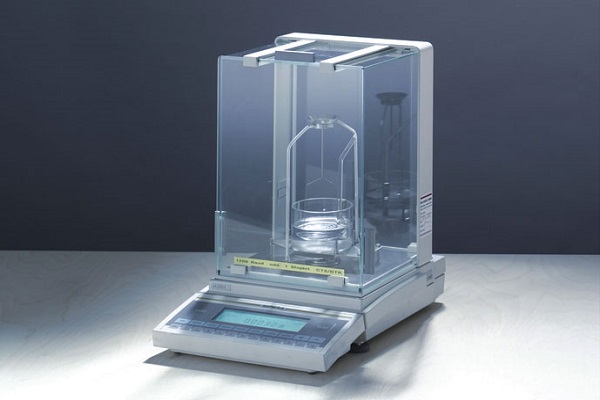
To exactly determine the specific weight and measure the weight-specific magnetisation saturation, we use a Sartorius precision balance. The density is primarily an indicator of the binder metal content.

The balance gives the weight to the nearest one thousandth of a gram

Highly precise measurement is necessary – even the water temperature is taken into account

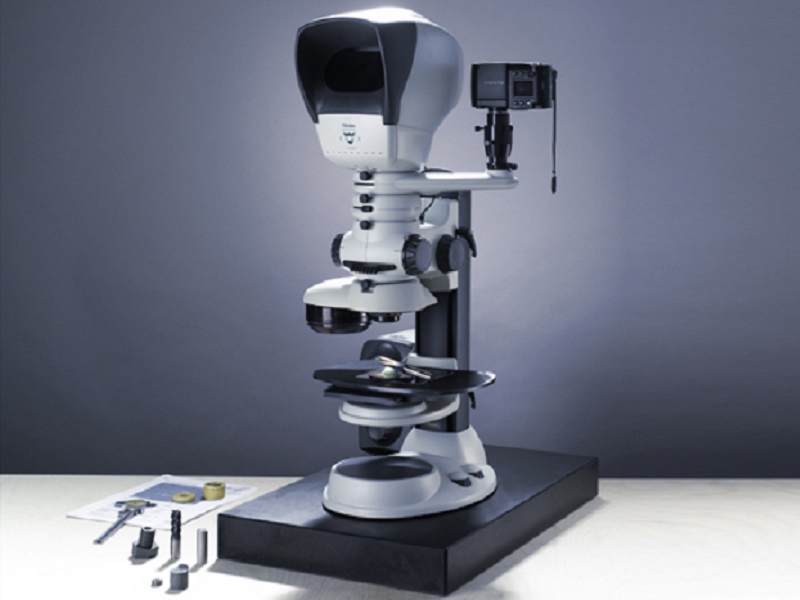
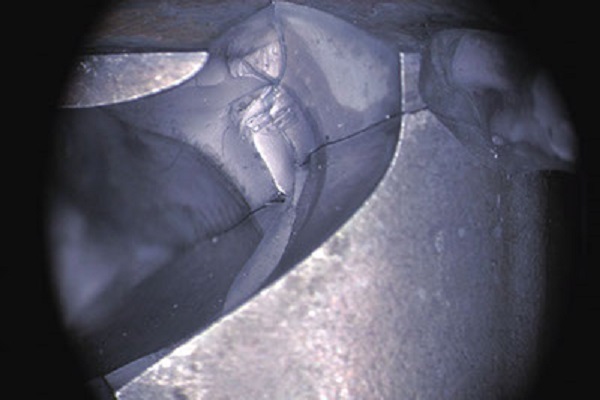
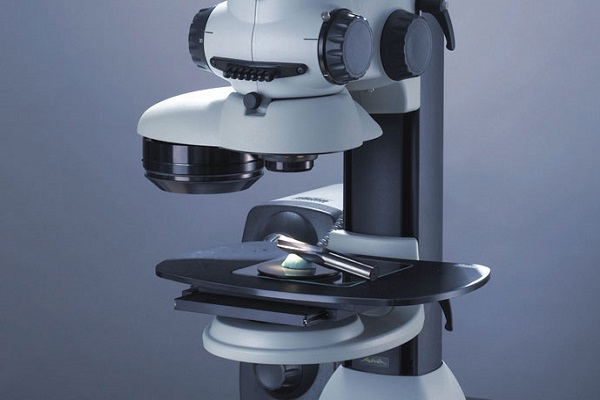
This microscope is used for initial brief observation of material samples. Up to 150x magnification enables the assessment of tool breakage or wear on cutting edges. Imaging is also possible via the connected camera.

This microscope is used for initial brief observation of material samples. Up to 150x magnification enables the assessment of tool breakage or wear on cutting edges. Imaging is also possible via the connected camera.

A wide field of view and simple handling enable quick and reliable statements to be made

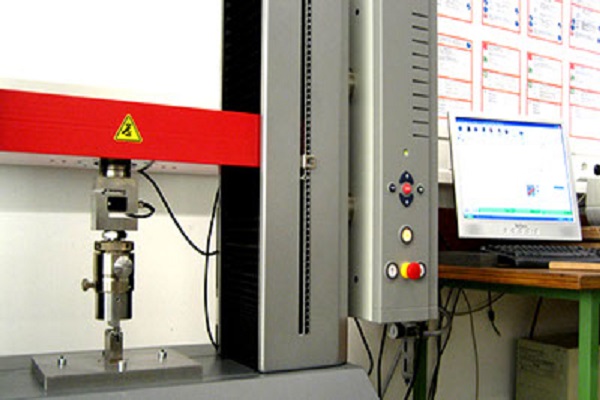
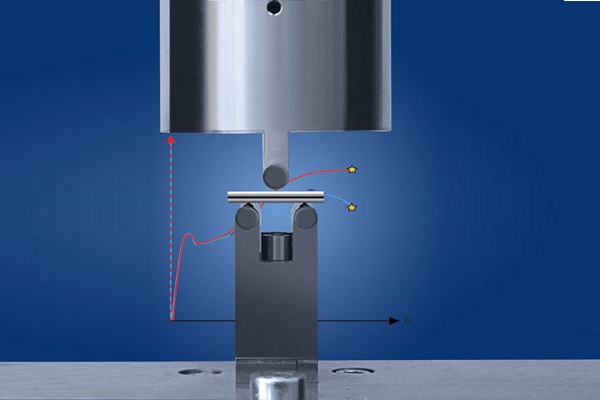
The bending strength depends on the cobalt content and the grain size of the carbide. It is determined by conducting a destructive test on standard samples in accordance with DIN EN ISO 3327. The test involves increasingly loading the specimens to failure.
The bending strength is a direct indication of the loading capacity of the carbide in practical use. Because of the wide distribution of measurements, several samples must be tested to failure in order to obtain meaningful evaluations.

The samples are subjected to increasing force until they break.

Testing the bending strength in accordance with DIN EN ISO 3327-2006